Reigniting an old interest

As a young child, my mother taught me how to knit the basic knit stitch. There after I was a proud owner of multiple holey, uneven “scarves”. Recently I have taken up knitting again, but more seriously. So far I have knitted a hat with a pom-pom, and learned a new stitch. The stitch is a bobble stitch. Below is the pattern for the stitch.

Row 1, 3, 5: Purl all

Row 2, 4: Knit all

Row 6: Knit 3 *Knit 4 below, Knit 3*

Row 7, 9 ,11: Purl all

Row 8,10: Knit all

Row 12: Knit 1 *Knit 4 below, knit 3* until last 2 stitches, Knit 4 below, knit 1

I will post a picture of the finish product as well as future projects!

Bullet Journal: August 2018

This post is a little late, but hello August, and with a new month comes a new monthly spread. For August I decided to embrace my love of fall,  even though it doesn’t officially start until next month, in my heart it starts now. Therefore I went with a cozy color theme and light font. For my weekly spreads, I like to keep the spread minimalistic, one because I don’t the time, or talent for that matter to create a detailed and creative spread each week and two because it works for me and I like the way it looks. This month I’m trying to do more yoga, and so I have set up a tracker page dedicated to yoga. I leave the left page blank on all my weekly spreads so that I can input any kind of notes, goals, or habits to track weekly or any think else I wish. That is what I love about bullet journaling, it is customizable not only to you, but to your weekly, monthly or even daily needs. You aren’t confined to one type of layout. It also gives you a creative outlet that you can utilize any way you wish.. or not.img_2330.jpg img_2331.jpg

Paper Boxes

I have a problem, I’ll admit. When ever I go to into a craft store and walk past the scrapbooking section I convince myself I need a new book of pretty paper. The reality being that I now have a drawer full of paper that I have nothing to do with, at least I thought. A quick search on the world wide web proved me wrong. There are so many other things you can do with scrapbooking paper other than scrapbooking. My first project I have attempted is origami boxes. These are perfect for gifts and small goodies. You can even adjust the size, and it only takes a few minutes!
Materials
2- 12×12 scrapbook paper
1- ruler
1- pencil or pen
1- scissors
scotch tape
optional embellishments: stickers, ribbon, ect
IMG_2308.JPG

Instructions:

  1. Take the paper and double check it is 12×12, some have a little extra
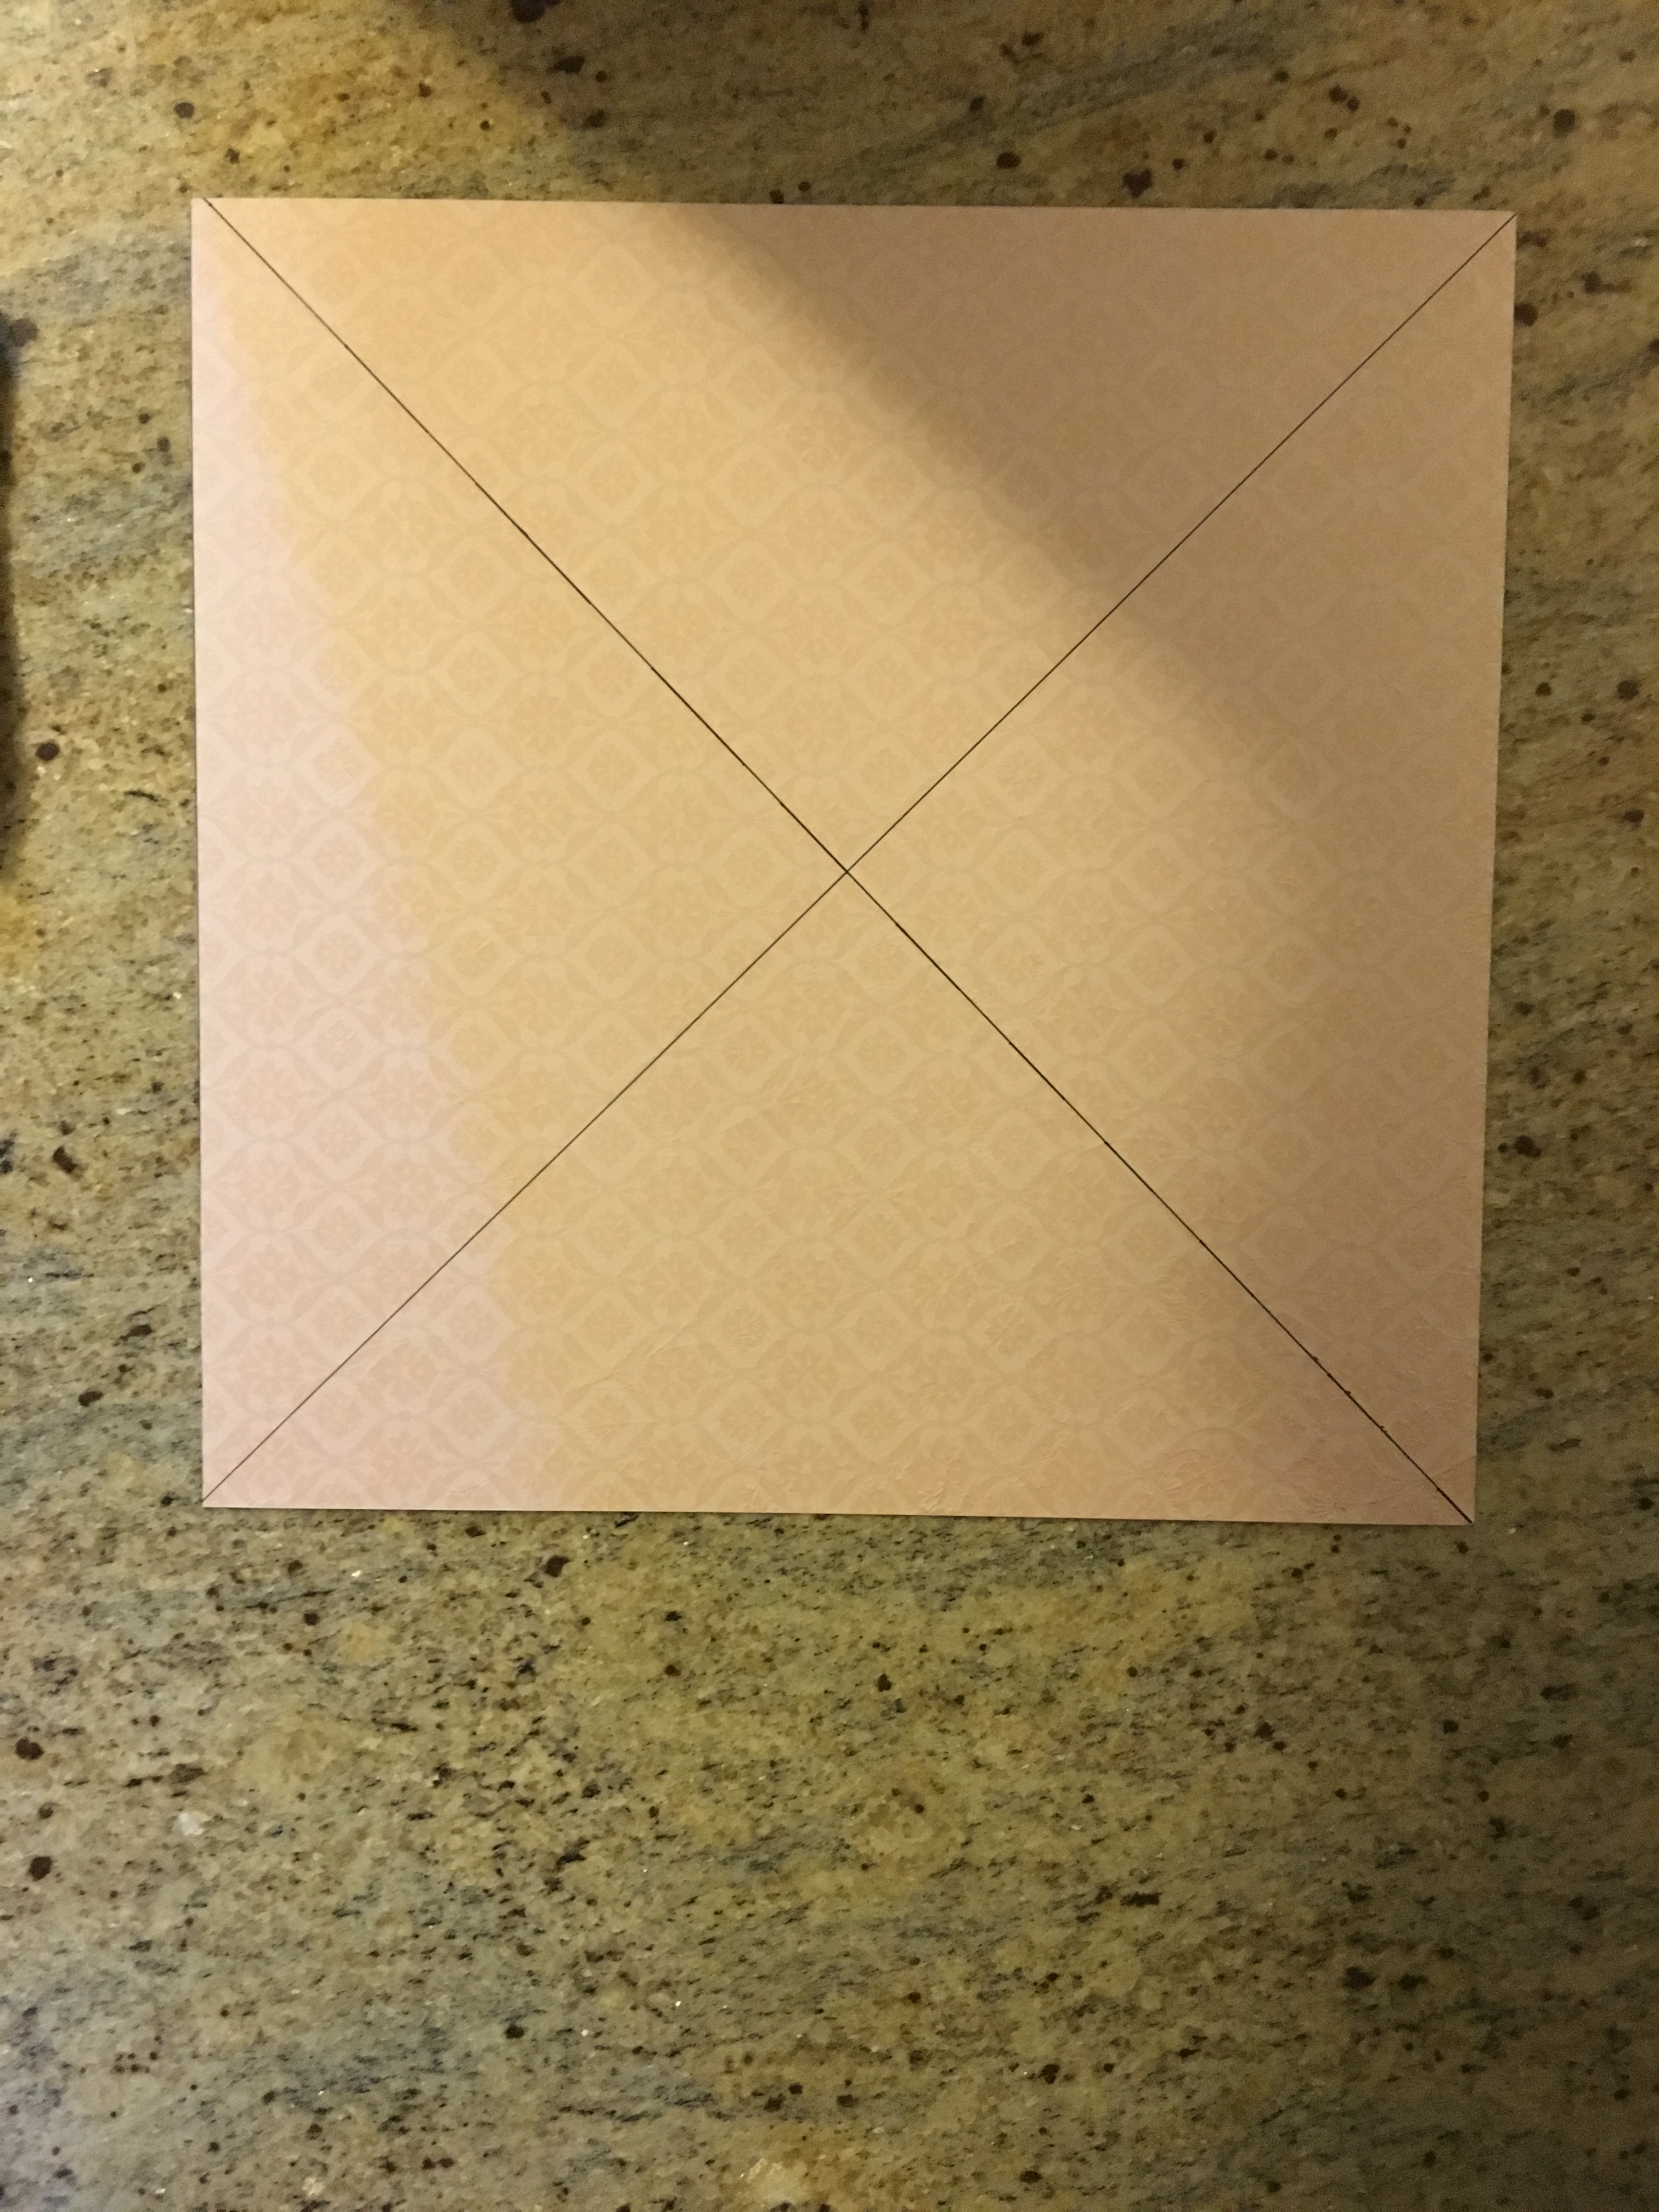
  2. Make an X across the side that you don’t want to use, connecting diagonal cornersIMG_2311.JPG

3. Fold all corners in so that they meet in the middle.IMG_2312.JPG

4. Fold each corner back on itself.IMG_2313.JPG

5. Unfold one set of diagonal corners. on the remaining two corners make 4 cuts (location pictured below).IMG_2314.JPGIMG_2315.JPG

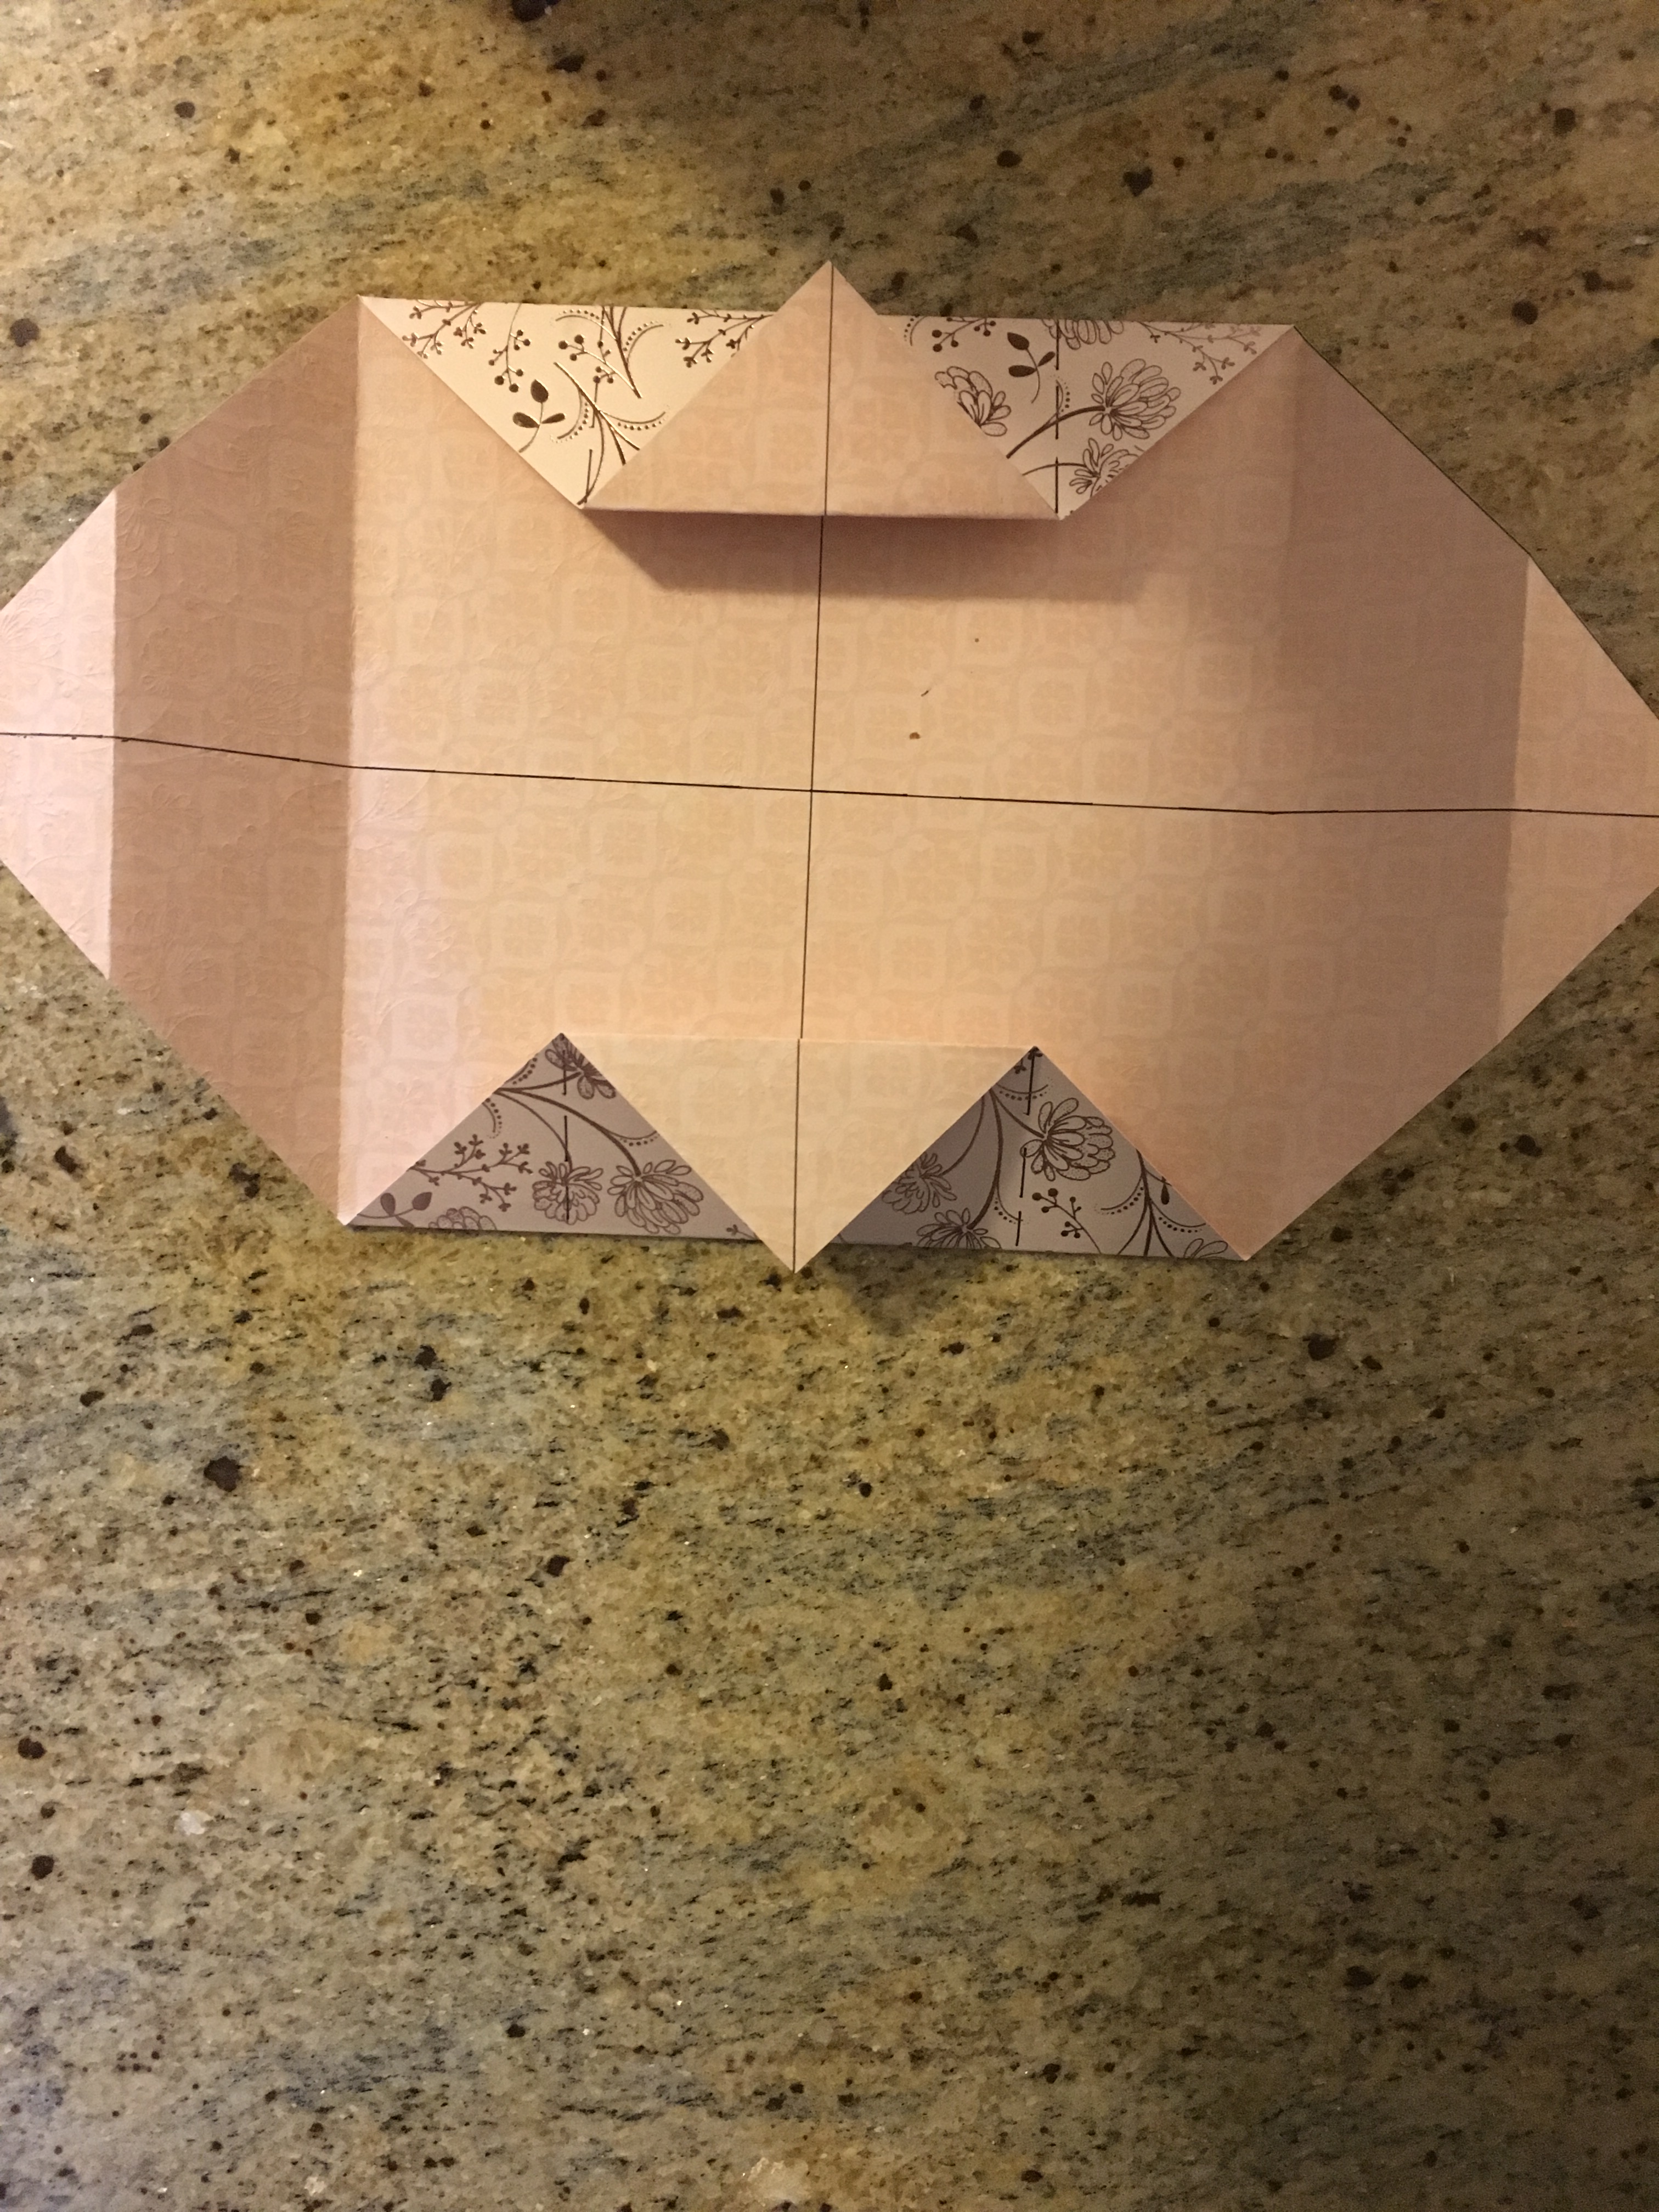
6. Fold in the corners that were not cut. IMG_2316.JPG

7. Take the piece that was cut (the piece that sticks out) and fold the corner to where the opposite side was cut. Repeat on all 4 pieces. IMG_2317.JPGIMG_2318.JPG


IMG_2319.JPG

8. Once the sides are folded stand both sides up. Each side should have 3 “walls”.IMG_2320.JPGIMG_2321.JPG

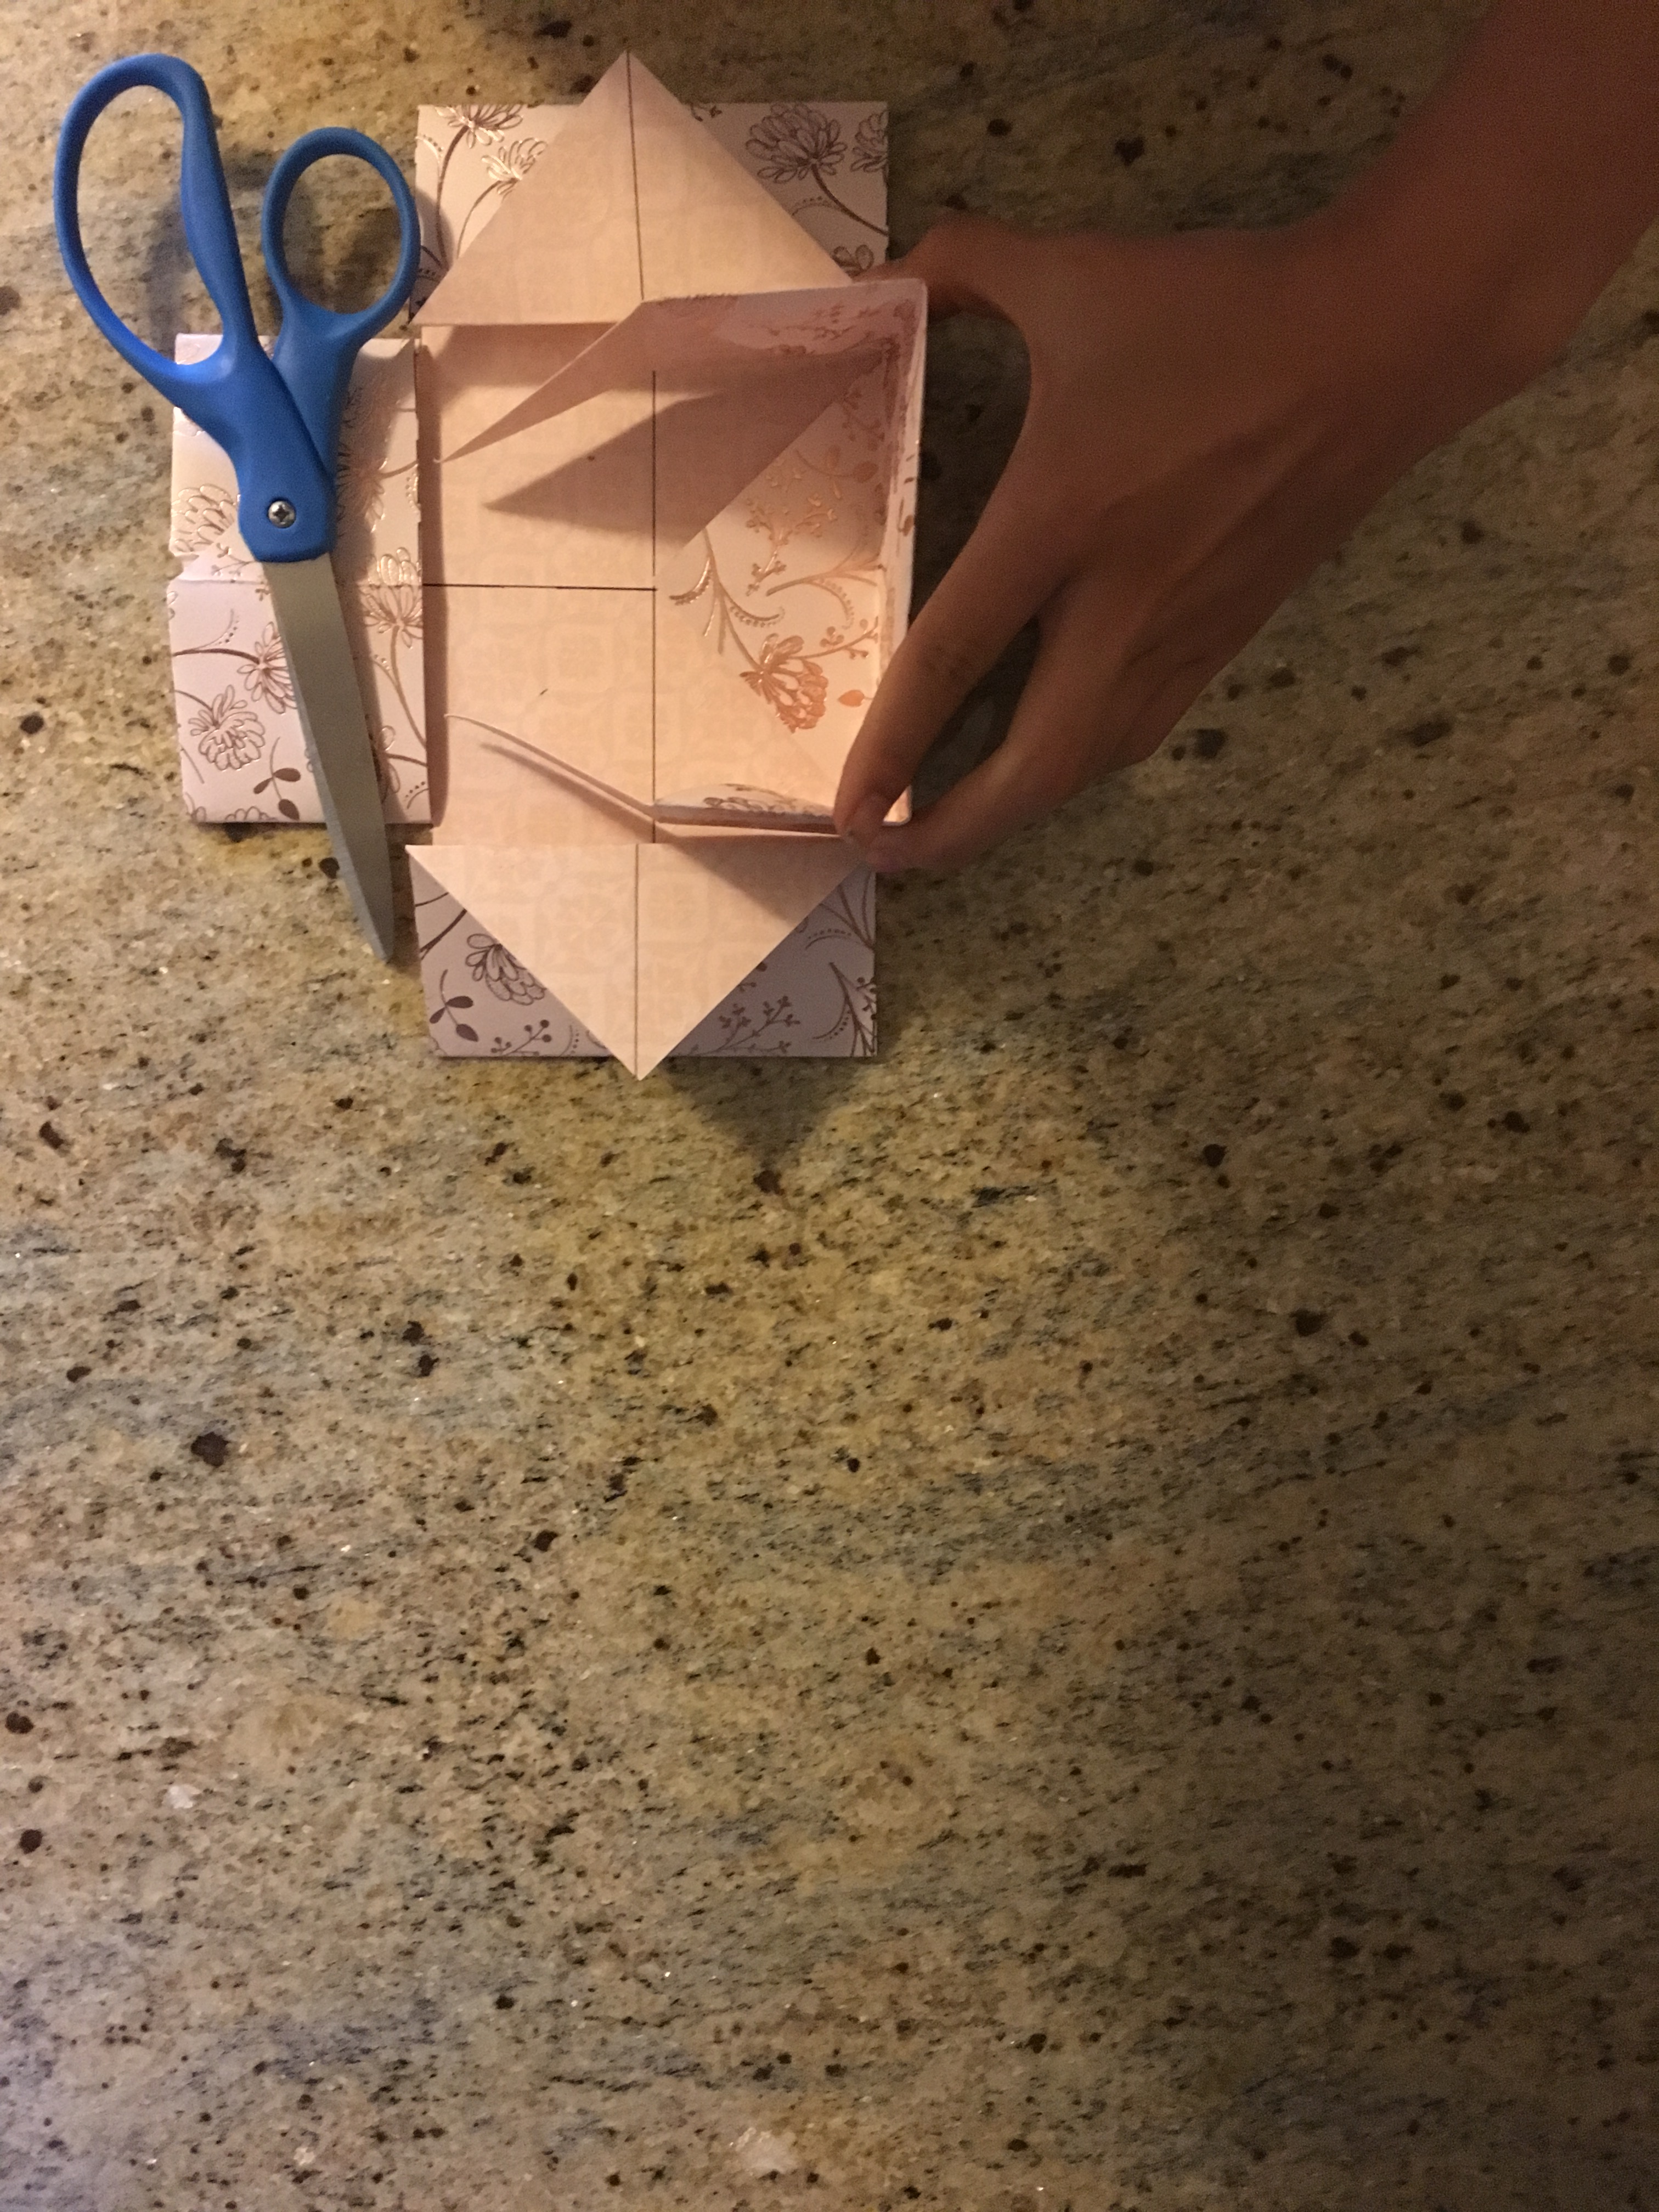
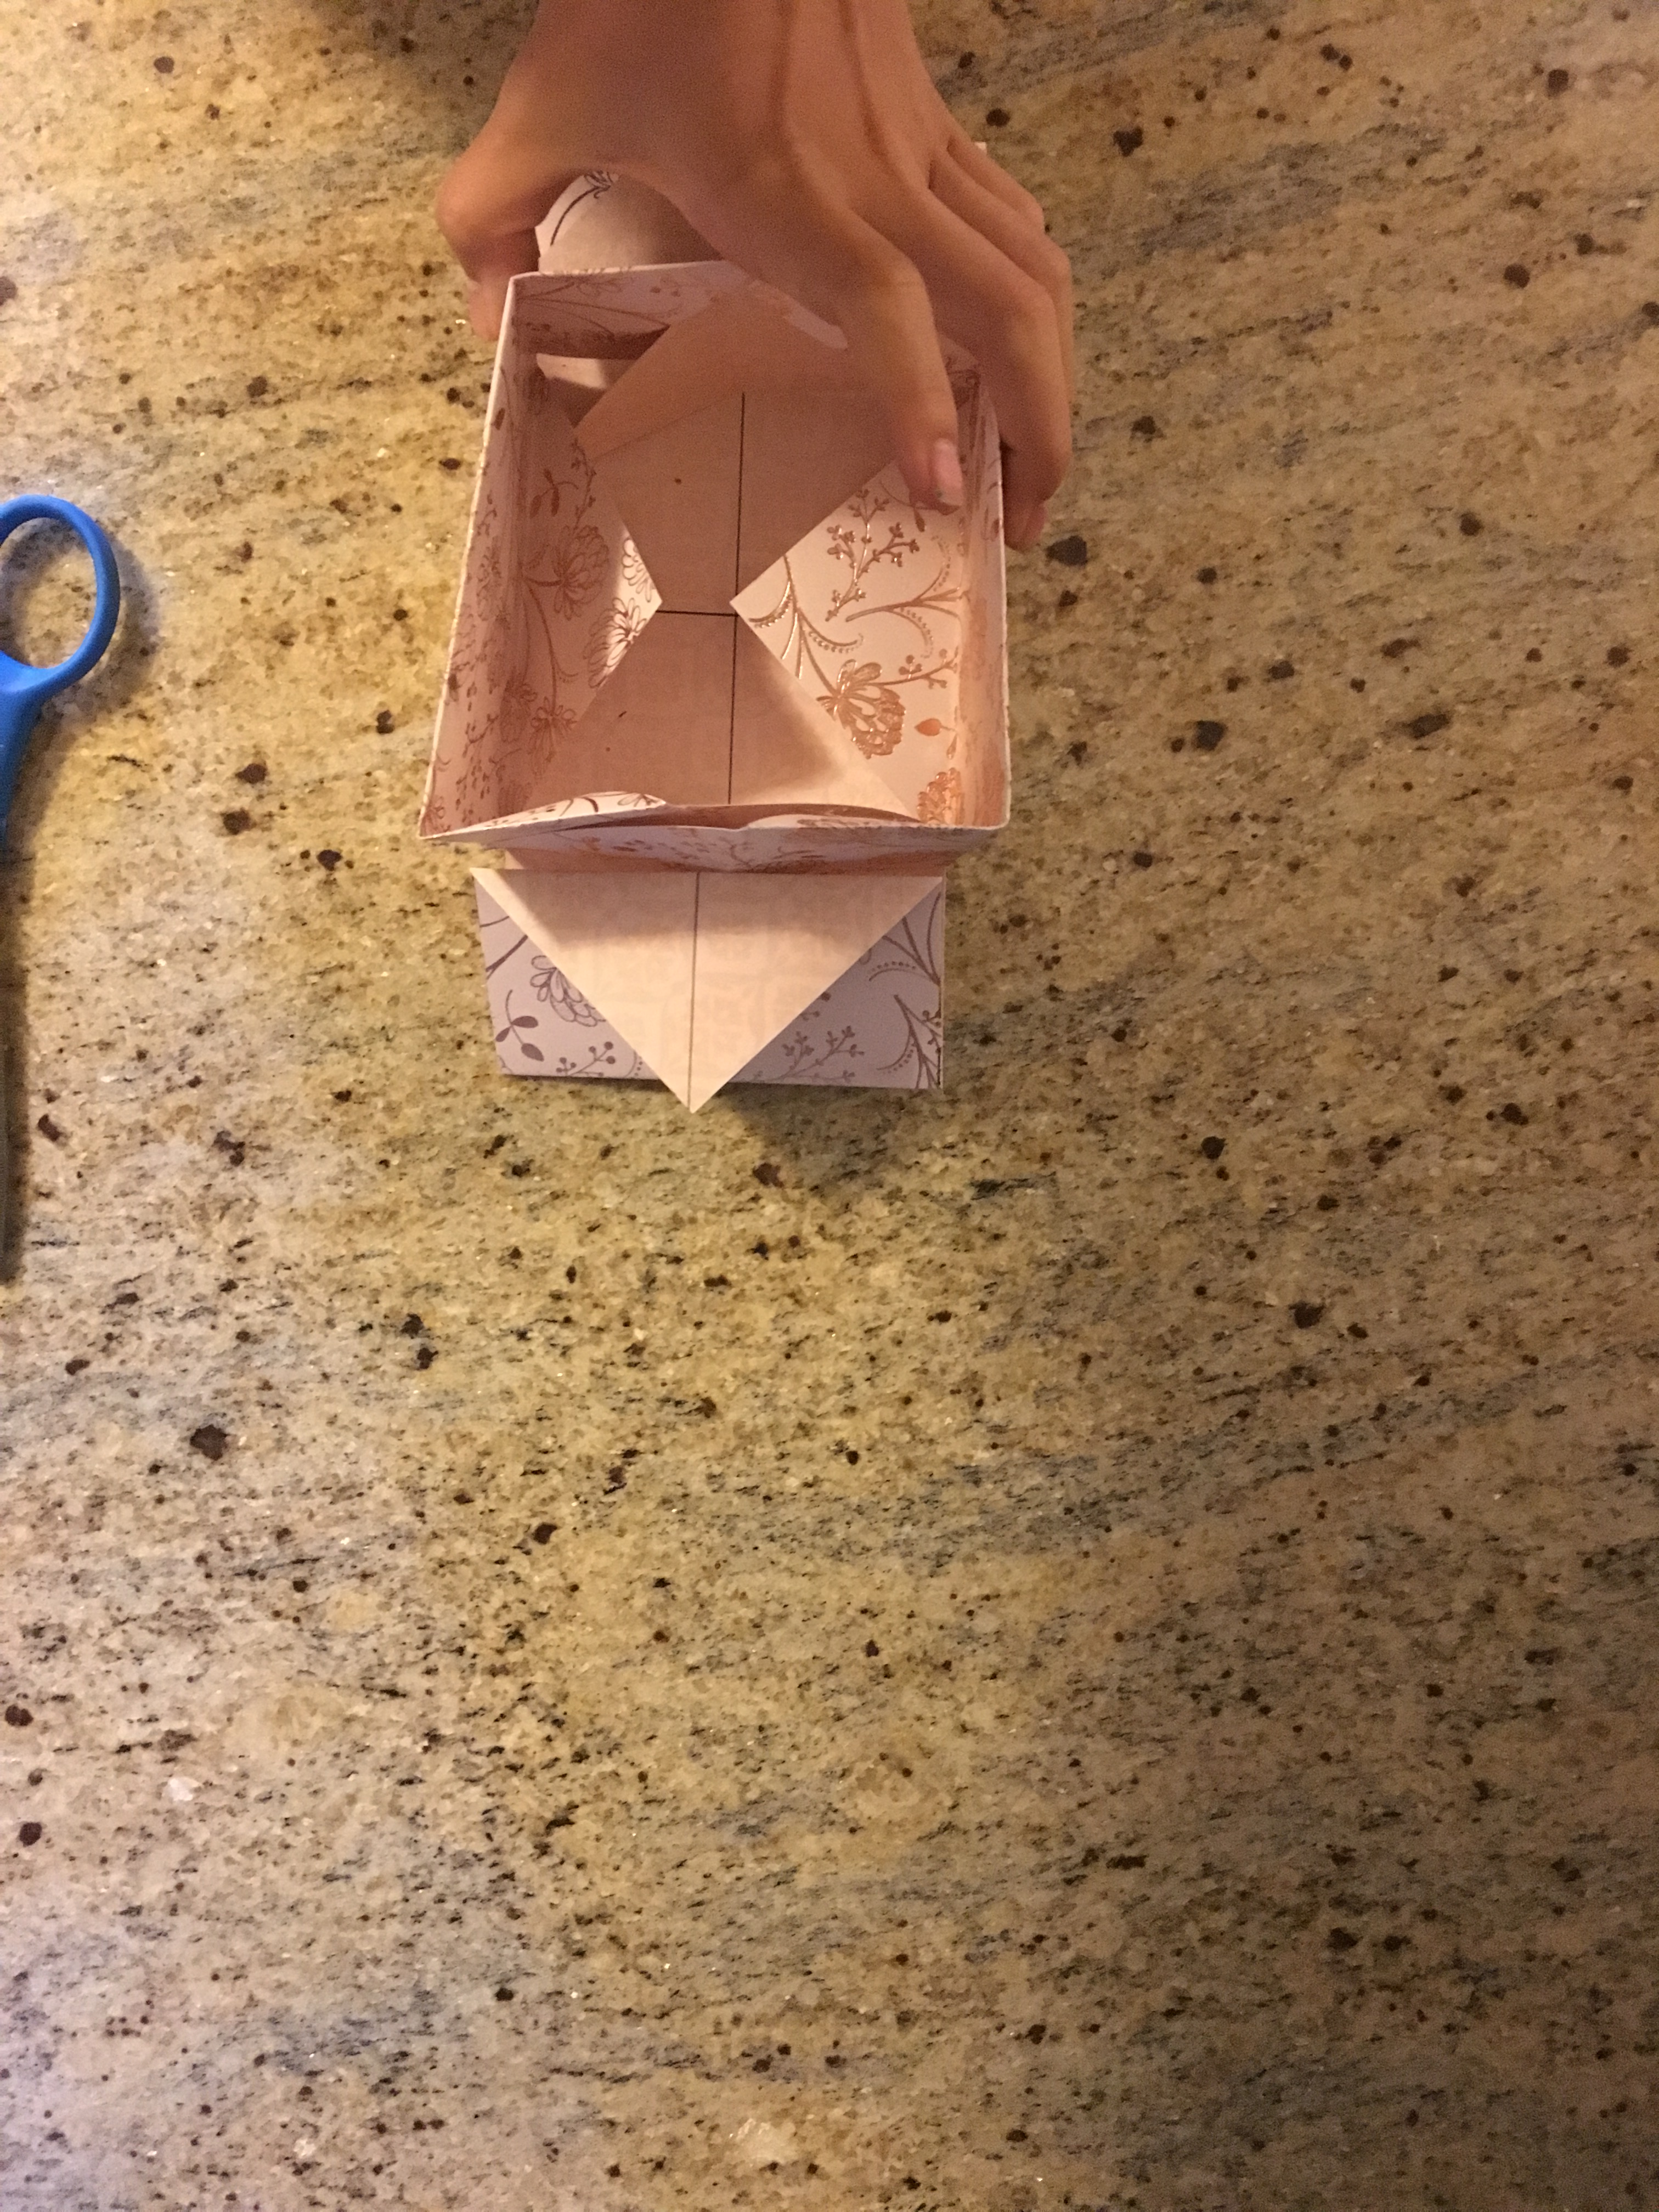
9. Fold the top and bottom corners over the “walls” and secure with tape. IMG_2322.JPGIMG_2324.JPG

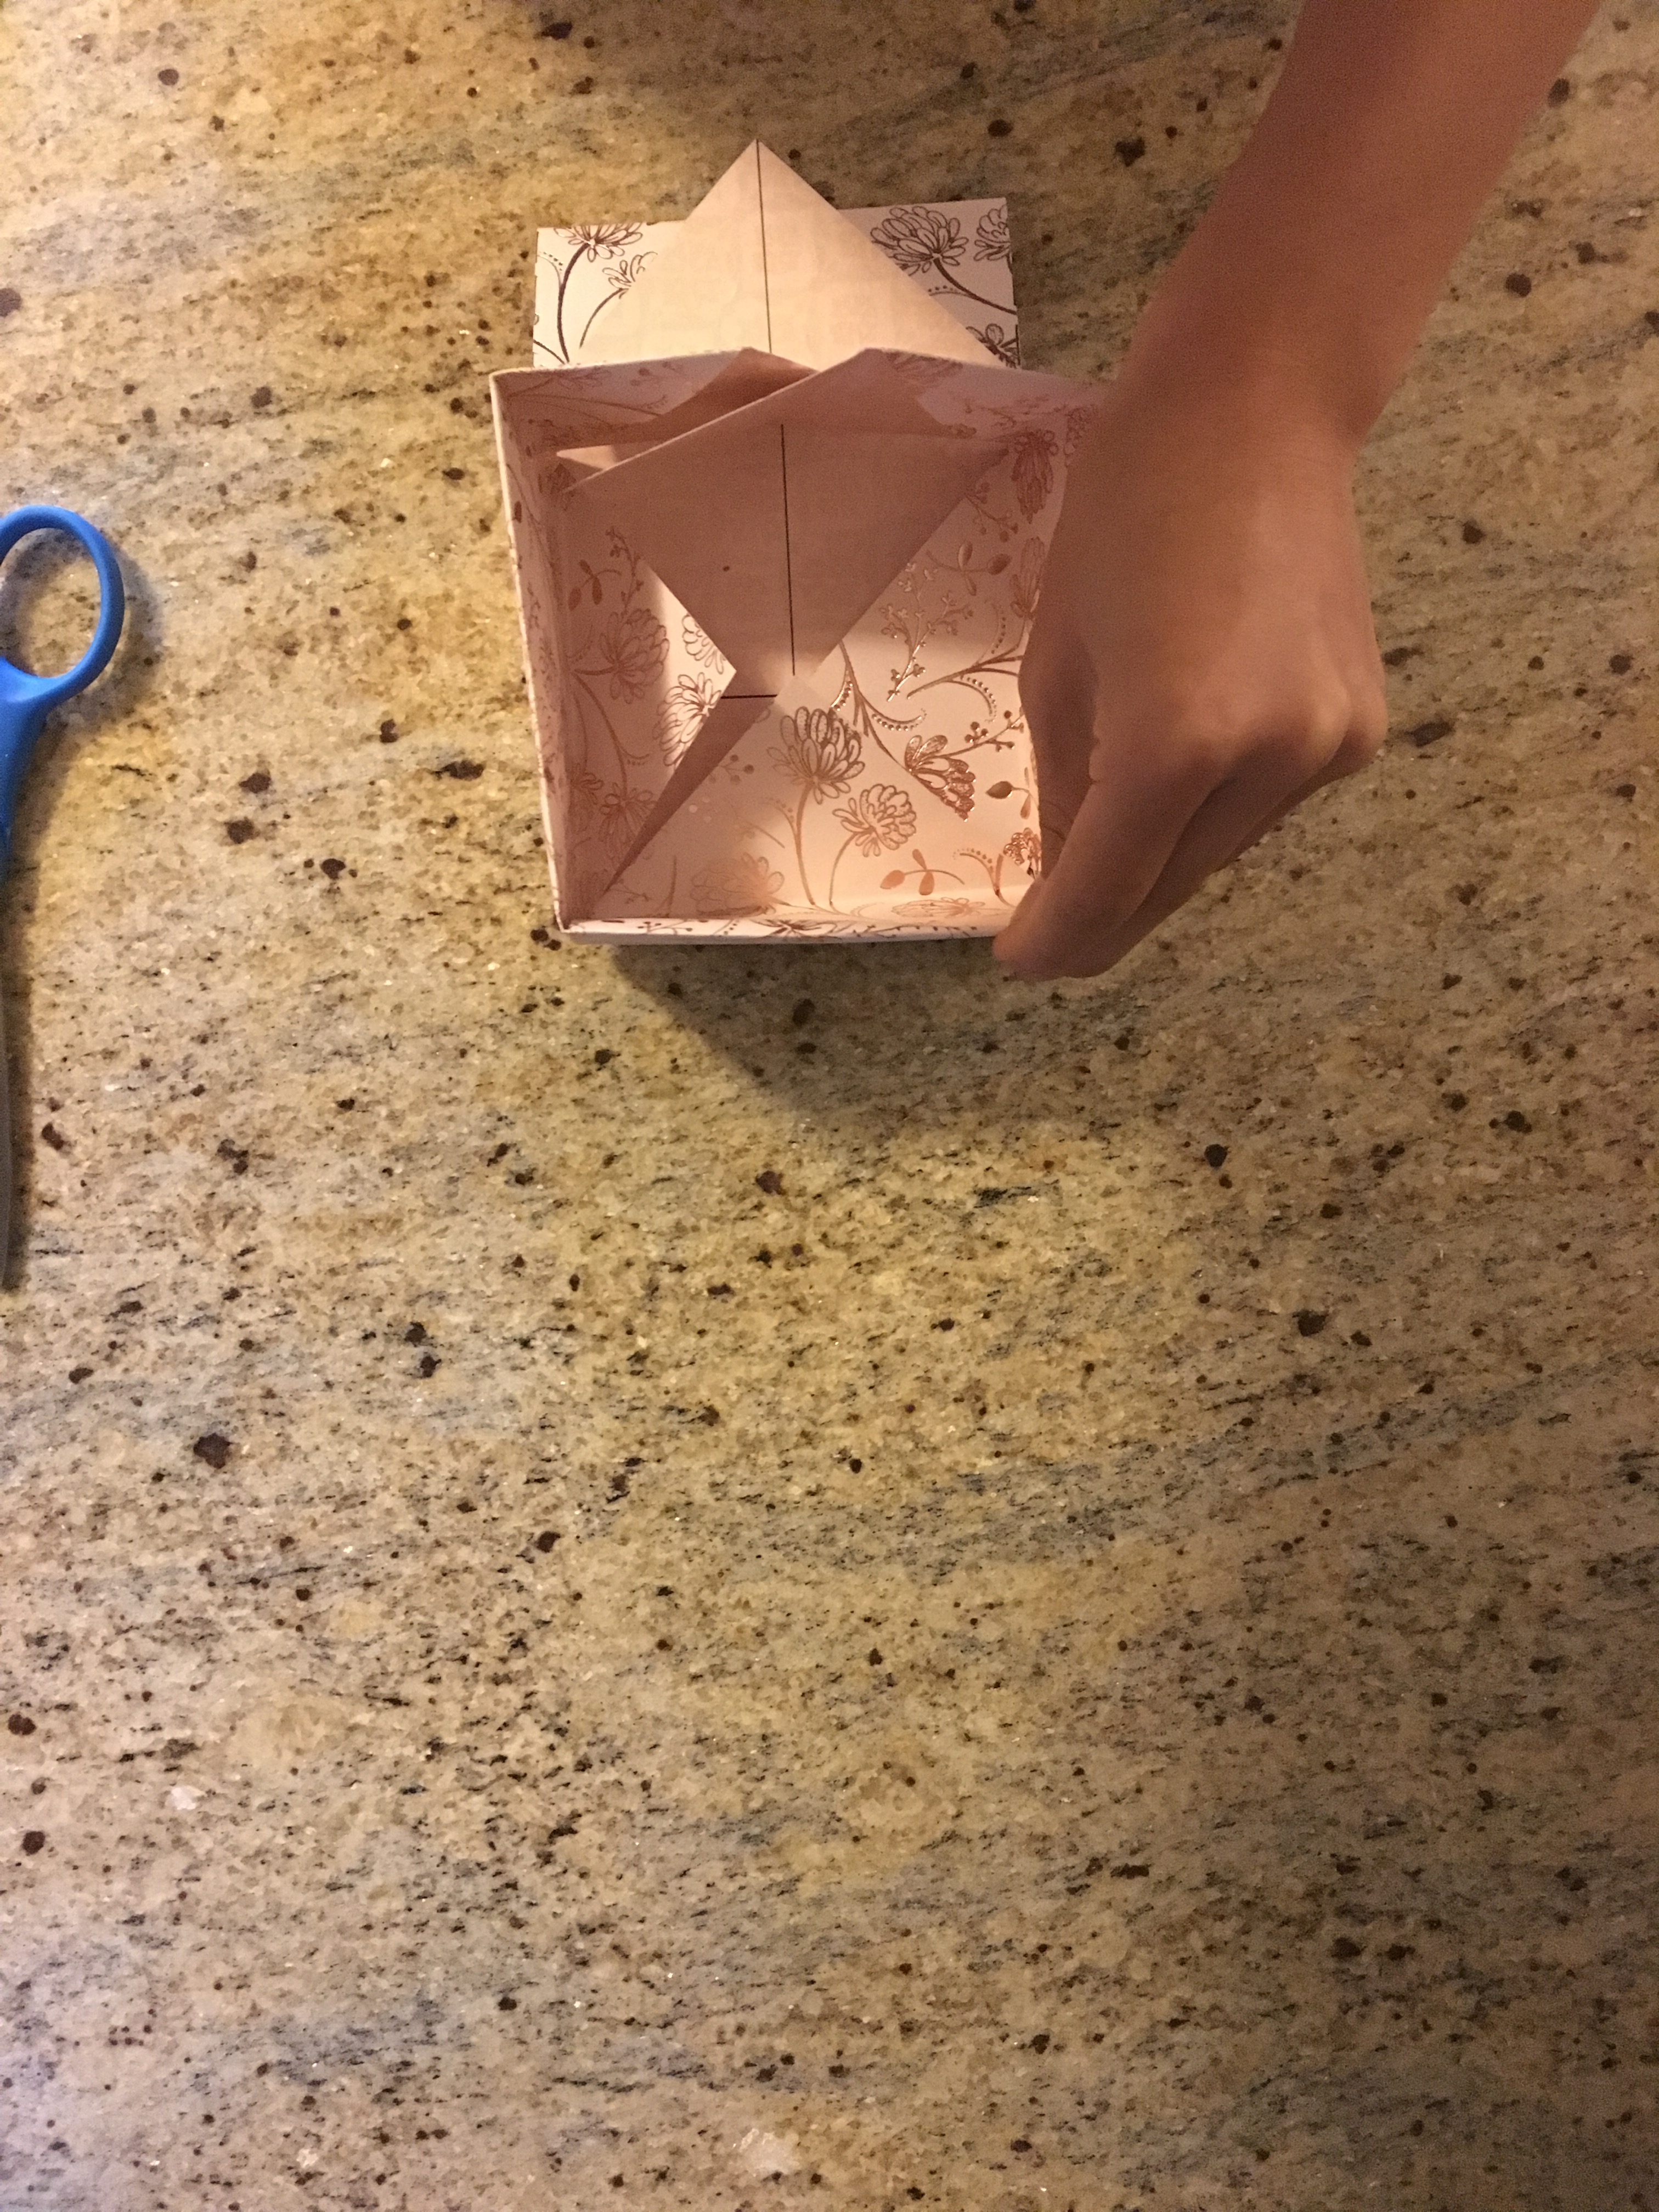
10. To complete the bottom, take the second piece of scrapbook paper and cut of 1/4 inch from both sides. This way the bottom will be slightly smaller than the top. Repeat steps 2-9. IMG_2325.JPG

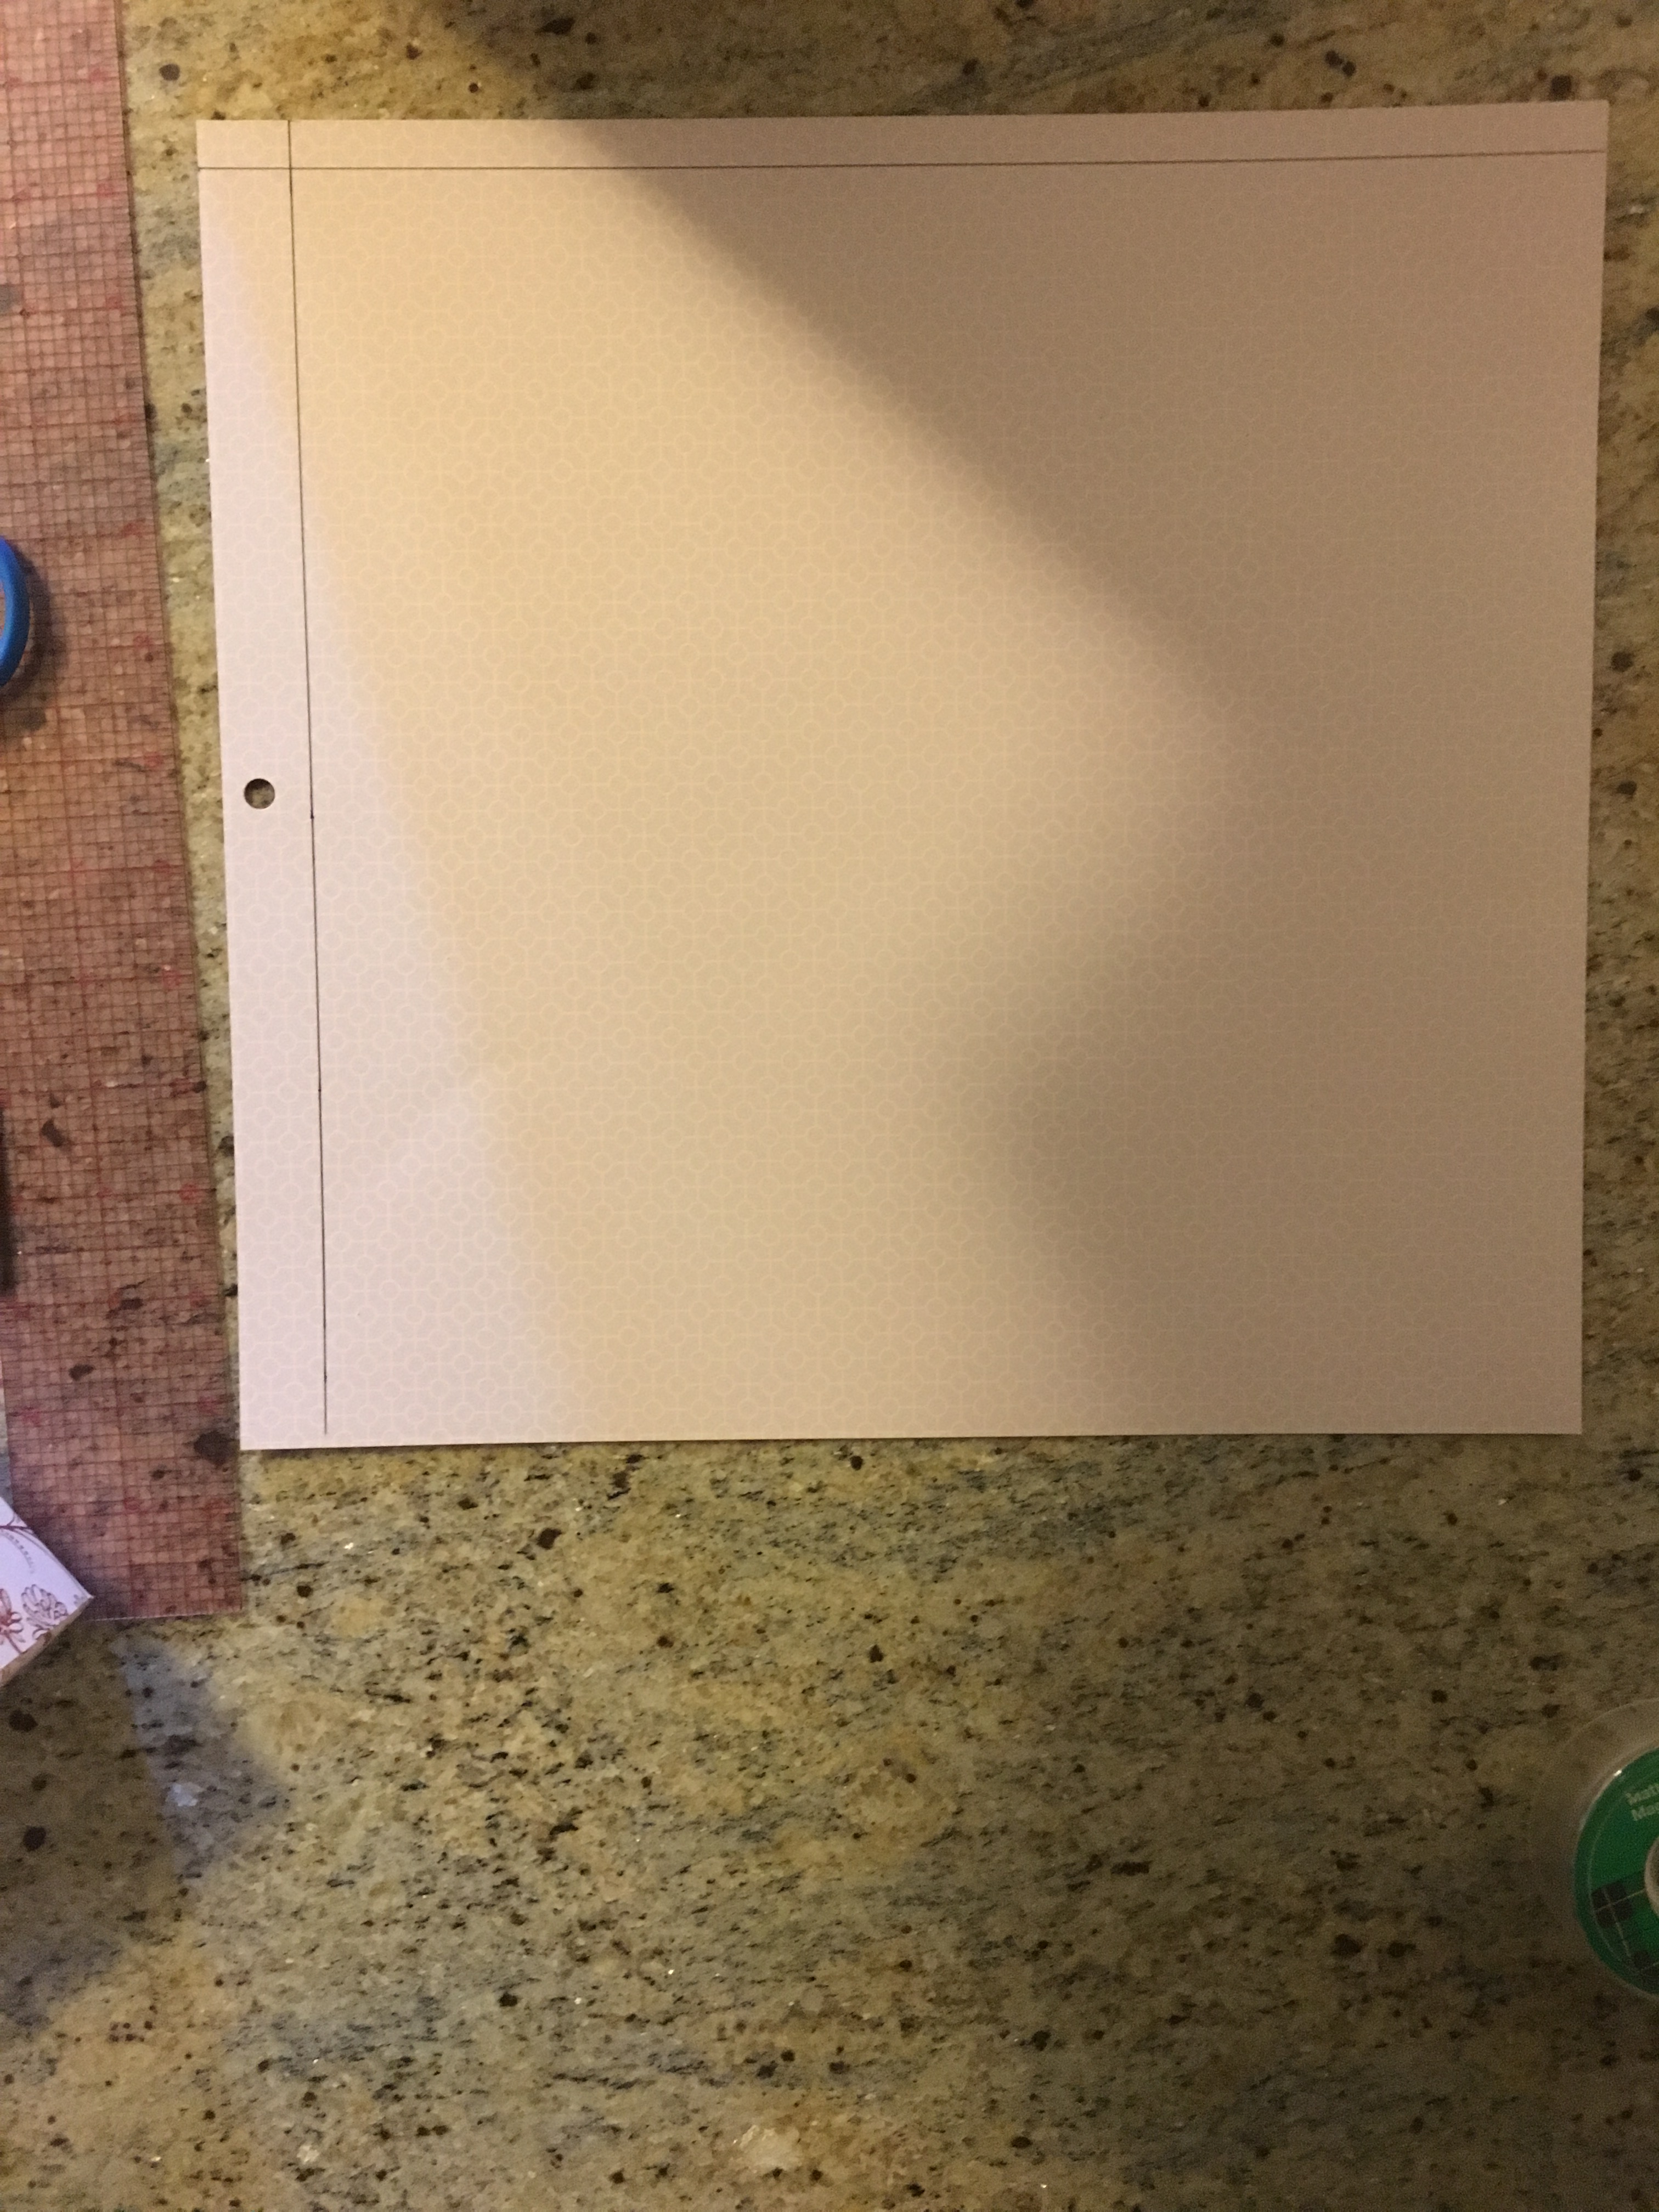
Once you have completed these steps two should have two open boxes. IMG_2326.JPG

All you need to do is put them together. You may have to jiggle them at first to get them to fit. IMG_2328.JPG